Wednesday, May 28, 2014

Week 8

For this week we received our rough draft of the final report back. During lab we worked on the report fixing the little things. On Saturday, our team met in the library to work on the model itself. The following pictures show what was accomplished.
We created the pavilion (entrance) of the Atomium. It was made form thin foam boards glued together.
Since the board wasn't thick enough we divided it into four section. Each section was measured and drawn on the side.
This is the front of the bipod.

Here is the almost finished Atomium with the pavilion and the form boards that will display the model.


Objectives:
  • working on 3D model and figuring out the bipods
  • edit and finalize the final report
  • start final presentation
Roles:
  • Candace Ly: 3D model team, report
  • Yiping Peng: 3D model team, report
  • Joshua Choi: 3D model team, report
  • Daniel Lefebvre: CAD, analysis, report
Learned:
  • It's hard to cut a perfect circle from a foam board
  • We still need to research more


Wednesday, May 21, 2014

Week 7 Objectives

To do:
1. physical model
       1.1 missing one rod
       1.2 entrance
       1.3 underground
       1.4 glue parts together
2. computer model
       2.1 forces flow
3. Physical model comparing to computer model
       3.1 Limitations
4. Final presentation
       4.1 PowerPoint

Team member roles:
Candace Ly: 3D design team
Yiping Peng: 3D design team
Joshua Choi: 3D design team
Daniel Lefebvre: Sketchup, analysis

Things learned:
-the model isn't as stable as we thought, so we have to glue the spheres and rods together
-we need to research more on the structure itself


Week 6

On Monday May 5th, 2014 the 3D model team met to continue finishing the Atomium model. Before the meeting, the rods and remaining spheres were cut and spray painted. While still continuing our method of operation, holes were created in the spheres and the rods were stuck into them. The picture below is what was accomplished.

A few more spheres were added. The Atomium itself is almost completed.
The actual Atomium structure is almost finished, all that is missing is the middle sphere and the additional diagonal rods. The middle rod will go through the middle sphere; it also connects to the foundation. The picture below is the information needed for the length of the middle rod and the pavilion. The length of the middle rod is about 17.3 inches and the other diagonal rods are about 4 inches.


Our goal for next week is to go shopping again for the rest of the materials needed; such as the foundation and bipods. We also hope to finish the structure itself and start on the foundation of the building.


Objectives:

  • working on 3D physical model again
  • work on rough draft of final report
Roles:
  • Candace Ly: 3D model team, report
  • Yiping Peng: 3D model team, report
  • Joshua Choi: 3D model team, report
  • Daniel Lefebvre: report, sketchup analysis


Wednesday, April 30, 2014

Week 5


On Thursday, April 24th, 2014 we went into the city to go to Blick Art Store to buy some materials for the 3D model. We were only able to purchase the spheres, rods, and spray paint. We still have to decide what to use to model the entrance, supports, and foundation. At first it was difficult to figure out what the materials dimensions in order to scale it correctly, also Blick did not have the correct rod diameter. So on Friday, Candace went to the art store on the Friday to gather the correct rods. On Monday, Candace also went to the machine shop to prepare the rods for Tuesday's meeting.

Meeting on April 30th, 2014

Before lab day, we met up on Tuesday, April 30th, 2014. During this time, we began building the 3D model of the Atomium. The spheres and rods were first spray painted the materials in metallic, as shown below. Josh, Candace, and Yiping worked on the model and Daniel continued working on the Sketchup.

Spray-Painted Foam Sphere

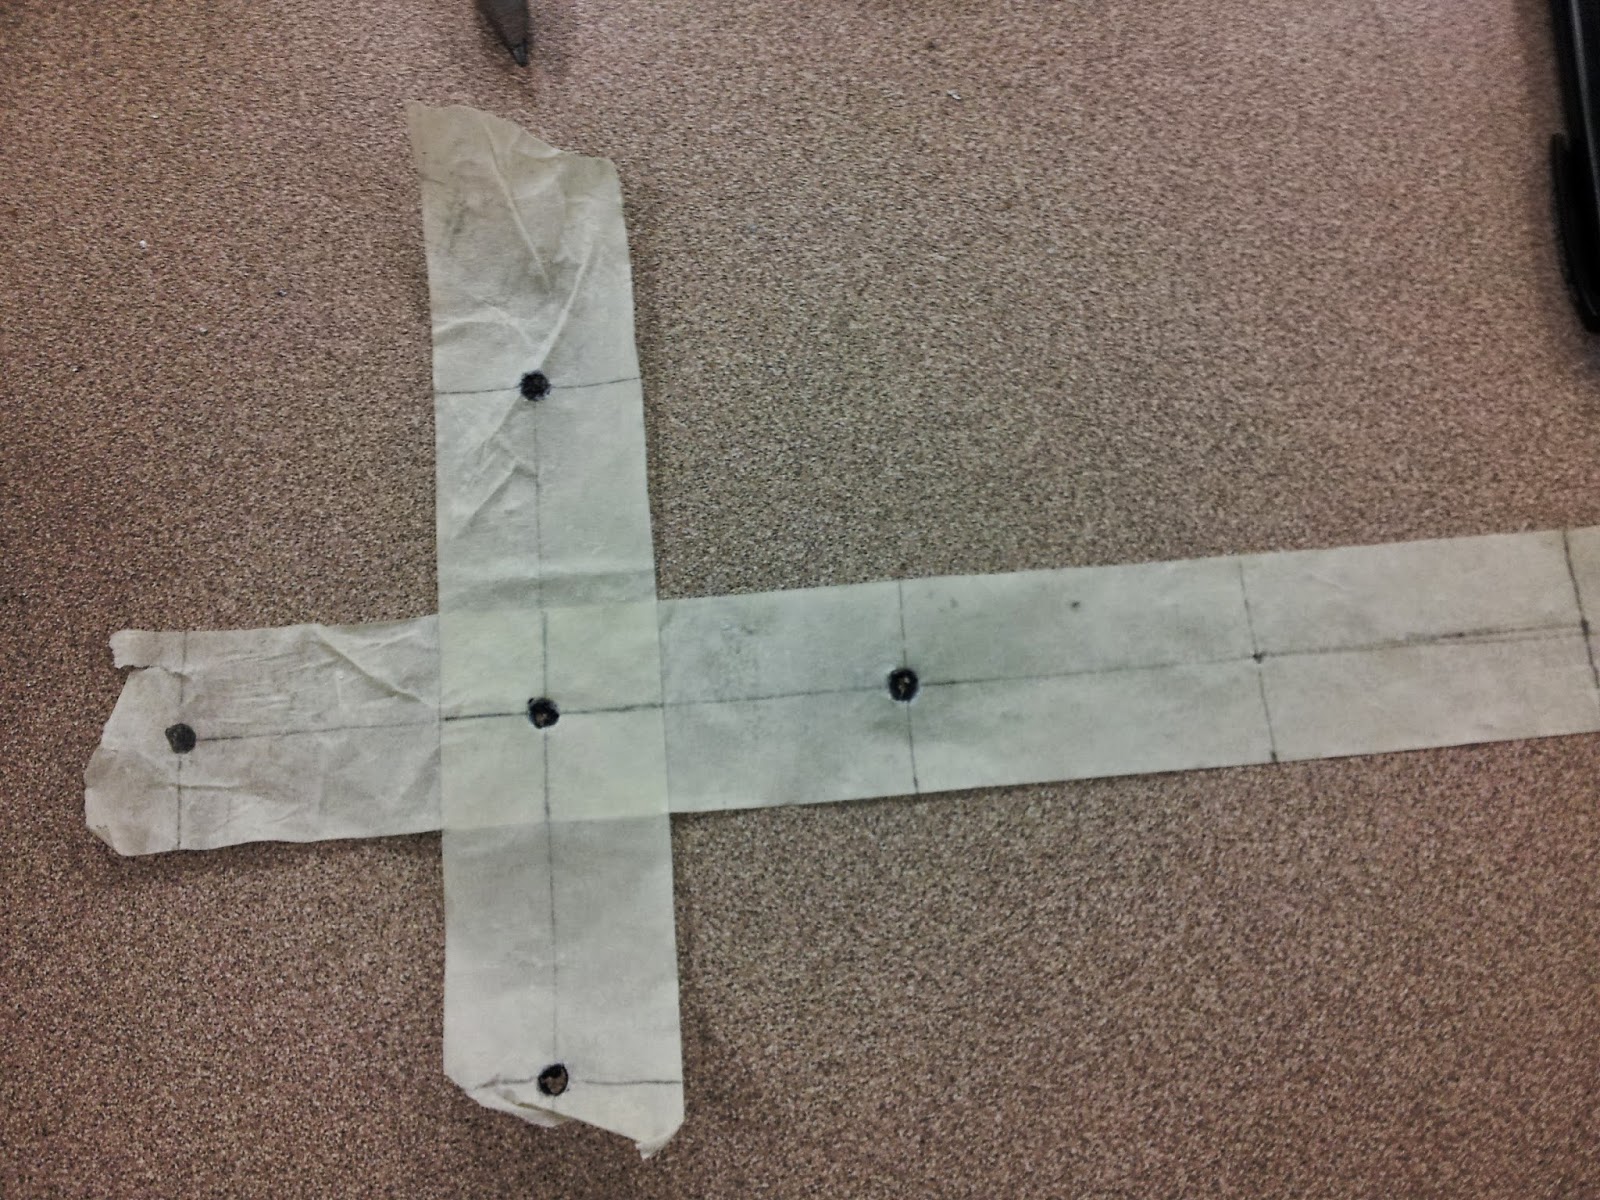
It was difficult to figure out how to get the exact points. So in order to determine where the poles are, we used a piece of tape and measure since we did not have a clothing tape measurer. The two pictures below show what was drawn on the tap to measure.

This was used to determine the 45 degree angle

This was used to determine the holes on the spheres where the poles go


We only constructed about half of the Atomium structure. With 5 spheres and 7 rods.

Model Progress


During lab, we started to look at the final report and also updated our Project Libre. Our Sketchup drawing is almost complete, but has not finished since it is difficult to angle to spheres in the program a certain way. Our visual analysis has not started yet, because the drawing is still waiting to be completed in order to easily import the file onto visual analysis. For this week, our goal is to finish the drawing, begin the visual analysis, and continue building the model and figure out what should be used to model the other parts of the structure.

Here is our progress so far:


Wednesday, April 23, 2014

Week 4 Lab


In the lab, we discussed where we should be compared to where we are compared to where we should be.


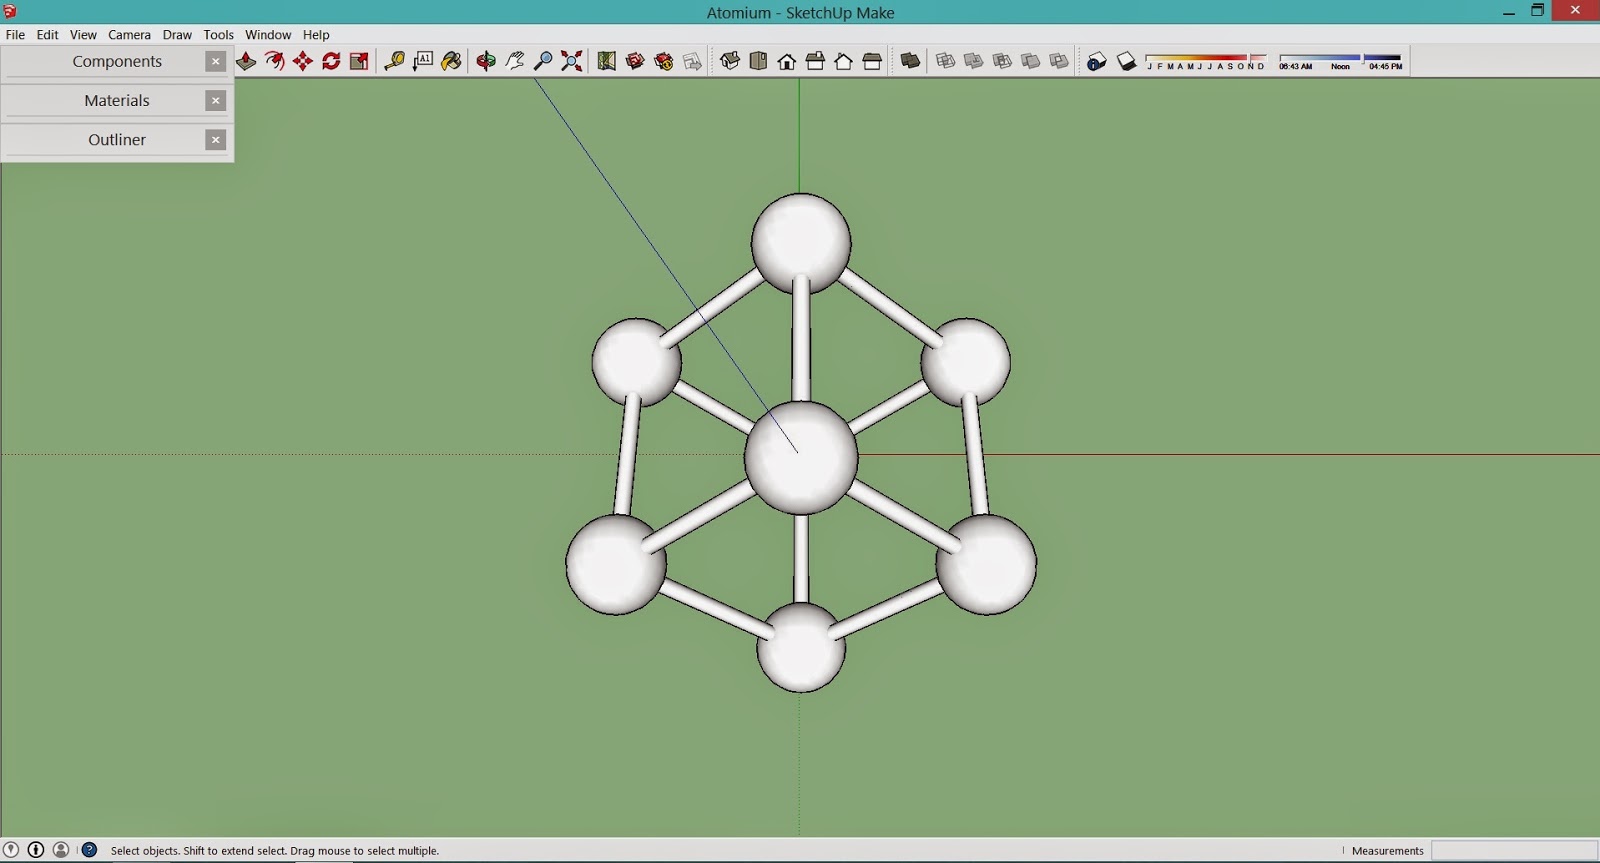
The only deliverable for the final report that we've made substantial progress is the CAD model. In SketchUp, Daniel has completed the cube with the spheres and connecting tubes. The most important elements that remain are the bases, bipods, and foundation.


The group has plans to go to an art store to buy supplies for the physical model, but even so we're a bit behind schedule on that. Both Ben and Prof. Aktan insisted that we need to make significant progress for next week. The SketchUp model should be done for next week, the Visual Analysis should be started, and we must have made a lot of progress not only attaining materials, but also starting the model.


Here's the group, hard at work as always.

Monday, April 21, 2014

Week 3 Progress


Group 5 during a group meeting at the library to work on the incomplete Visual Analysis file.


This week Dan was focused on making progress on the SketchUp CAD representation of the Atomium monument. Seen here are the frontal and top views of the model as of 4/22/14. The model consists of the tilted cube with nine spheres, one located at each corner and one in the center. There are several features still missing, including the base of the building, details on the interior of the spheres, windows, and the three supporting bipods.


For the homework assignment, the bridge was obvious unstable and VisualAnalysis always reported errors "when doing p-delta analysis". Everyone was confused at first until we saw this picture above. (RISA News, http://risanews.com/what-is-p-delta-analysis-risatech-risa3d/) When a model is loaded, the deflection in the members of the model may induce "secondary moments" due to the fact that the ends of the member may no longer be vertical in the deflected postition.


Yiping finally made the bridge work but it still seemed weak. She also tried to reinforce the structure, but due to the weight of the material itself, a dual-layer-bottom for the bridge deck did no help. An additional vertical one seemed help a little. Also, from the lab of last term, we know that Warren Truss is not the best choice. So the direction of the diagonal trusses were also changed.


Wednesday, April 16, 2014

Week 3

The first ProjectLibre timeline with the general, big tasks.
ROLES:
  • Candace Ly: Recorder, Team Member
  • Daniel Lefebvre: Time Recorder, Drawer, Team Member
  • Yiping Peng: Visual Analyst, Team Member
  • Joshua Choi: Physical Model, Team Member
- we did not officially assign a person to make the 3-D model 

GOALS:
  • finish our ProjectLibre timeline
  • finalize roles to team members
  • decide what material to use to make the 3-D model 
  • complete the assigned homework 
    • given a visual analysis bridge and figuring out what needs to be fixed
LEARNED:
  • the design cycle
  • why certain bridges failed as examples
  • different programs to use
  • structural components of bridges
  • structural health monitors 
  • what type of monitors are used to analyze bridges